
With the voucher module, each contact gets their own discount code instead of a shared code like WELCOME10. A shared code can be posted on discount sites and used by anyone. A unique code goes to one contact only, so you know who got which discount. If your webshop reports back when a code is used, you can also see who has used their discount and follow up with those who have not.
In this guide, you activate the voucher module, create a voucher group and a voucher pool, and upload your discount codes. Finally, you will see how your webshop can report used codes back to Heyloyalty.
Voucher groups and voucher pools
Your discount codes are kept in voucher pools, and the pools are kept in voucher groups:
- Voucher group: holds your pools, for example all discount codes from your webshop. Each group has its own URL, which your webshop can use to report used codes back.
- Voucher pool: holds the discount codes for one discount, for example a 10% welcome discount. This is the pool you choose when you insert a voucher in an email.
When you send an email with a voucher, each recipient gets their own code from the pool. A code is only sent once.
Step 1: Activate the voucher module
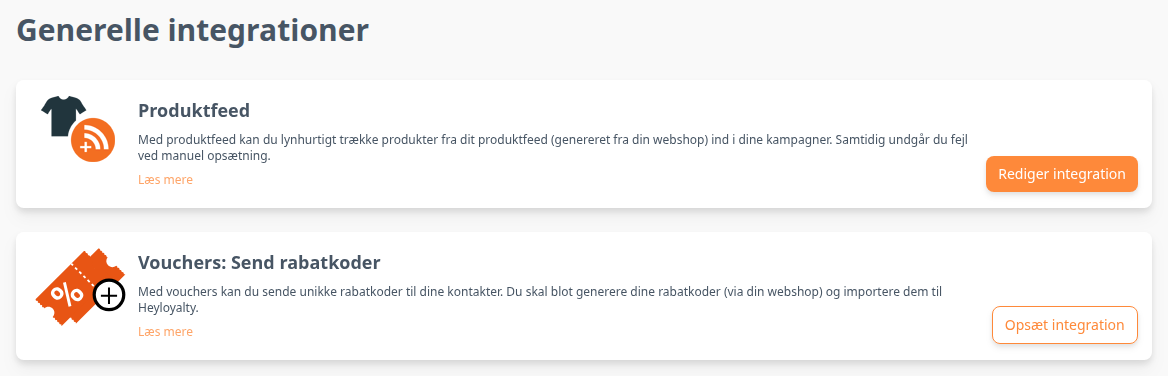
Go to Integrations → Integrations, and click Setup integration next to Vouchers: Send discount codes.
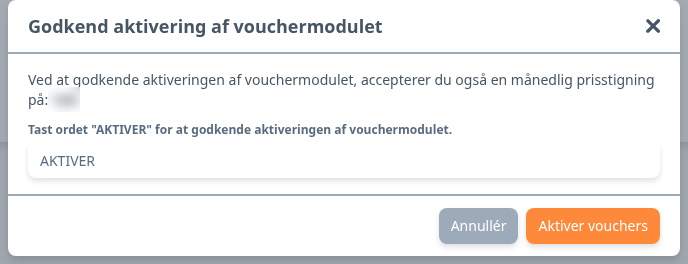
Click Activate vouchers. Enter the word ACTIVATE in the field, and click Activate vouchers in the box.
The top of the page now says “The voucher module has now been activated.”, and you are on the Voucher overview page. If the module is already active on your account, you go straight to Voucher overview.
Step 2: Create a voucher group
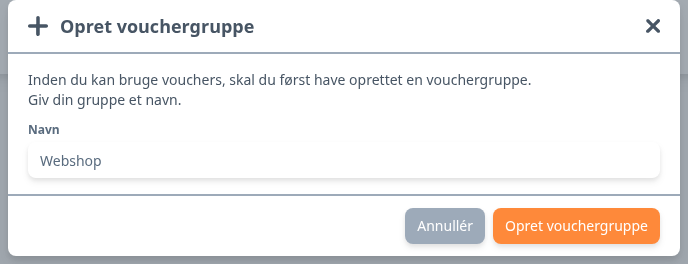
Click Create voucher group in the top right corner. Enter a name in the Name field, for example the name of your webshop, and click Create voucher group.
The group is now shown on Voucher overview with its URL next to the name. You will need the URL in step 5. Once you have created a group, the button on the General integrations page says Edit integration instead of Setup integration.
Step 3: Create a voucher pool
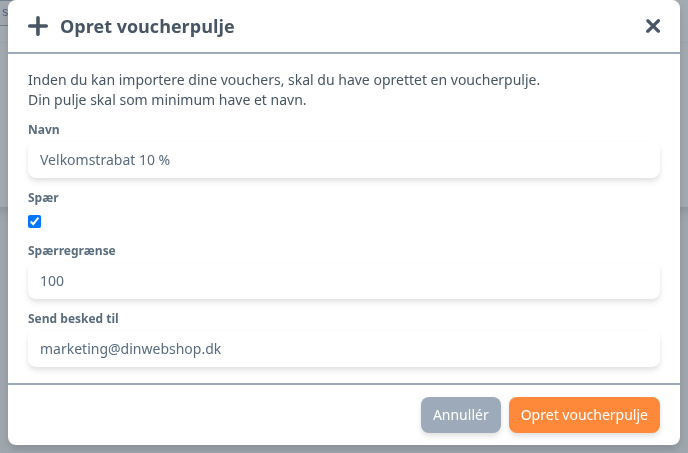
Click the three dots next to the voucher group, and select Create voucher pool. If the group has no pools yet, you can also click the Create voucher pool button in the group. Fill in the fields:
- Name: the name of the pool, for example the discount the codes give. You see the name when you insert a voucher in an email.
- Block: selected by default. When the pool has the number of codes in Limit or fewer left, a campaign with codes from the pool is not sent. Flows keep sending.
- Limit: the minimum number of codes that must be left in the pool. When the pool reaches the limit, you get a message, and if Block is selected, campaigns stop.
- Send message to: the email address that gets a message when the pool reaches the limit. The message is sent when a campaign or a flow uses codes from the pool, and at most once a day.
Click Create voucher pool.
Step 4: Upload your discount codes
Create the discount codes in your webshop, and save them in a CSV file with one code per line in the first column:
WELCOME0001
WELCOME0002
WELCOME0003
The file must not have a header row. Heyloyalty reads every line as a discount code, including the first one.
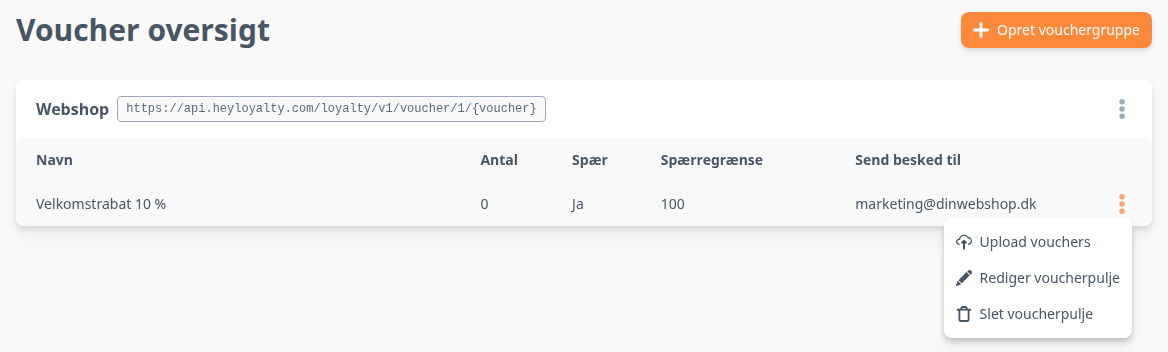
Click the three dots next to the voucher pool, and select Upload vouchers.
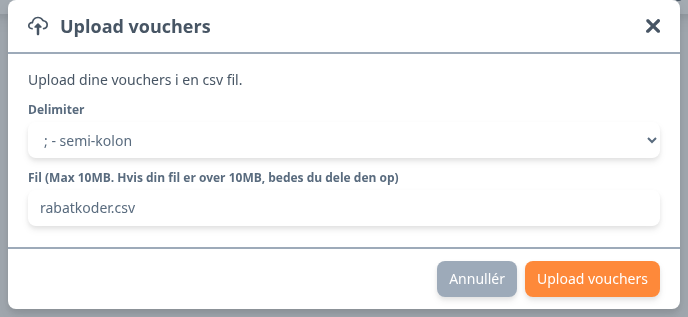
Fill in the fields:
- Delimiter: the character that separates the columns in your file. If the file only has one column, you can leave ; - semicolon selected.
- File: click Choose a file, and select your CSV file. The file can be up to 10 MB. If it is larger, split it into several files.
Click Upload vouchers.
Heyloyalty uploads the codes in the background. When they are ready, the number is shown in the Amount column next to the pool. Amount shows the codes that have not been sent yet.
Step 5: Report used codes back from your webshop
To see which contacts have used their discount code, your webshop must tell Heyloyalty when a code is used. A developer sets this up in your webshop.
Use the URL next to the voucher group on Voucher overview, for example https://api.heyloyalty.com/loyalty/v1/voucher/1/{voucher}. When a customer uses a code, the webshop sends a POST request to the URL, with {voucher} replaced by the code, for example https://api.heyloyalty.com/loyalty/v1/voucher/1/WELCOME0001. The request uses your account’s API key and API secret. See where to find them in Account information.
Heyloyalty then marks the code as used on the contact who received it.
You are ready to send unique discount codes
You have now activated the voucher module, created a voucher group and a voucher pool, and uploaded your discount codes. The next step is to insert a voucher in an email. See how in How to use vouchers in emails.
For example, use a pool with a welcome discount in your welcome flow, so each new subscriber gets their own code for their first order. If your webshop reports used codes back, you can create a segment with the contacts who Has/have received a code from the pool but Has/have not used it, and send them a reminder about the discount.